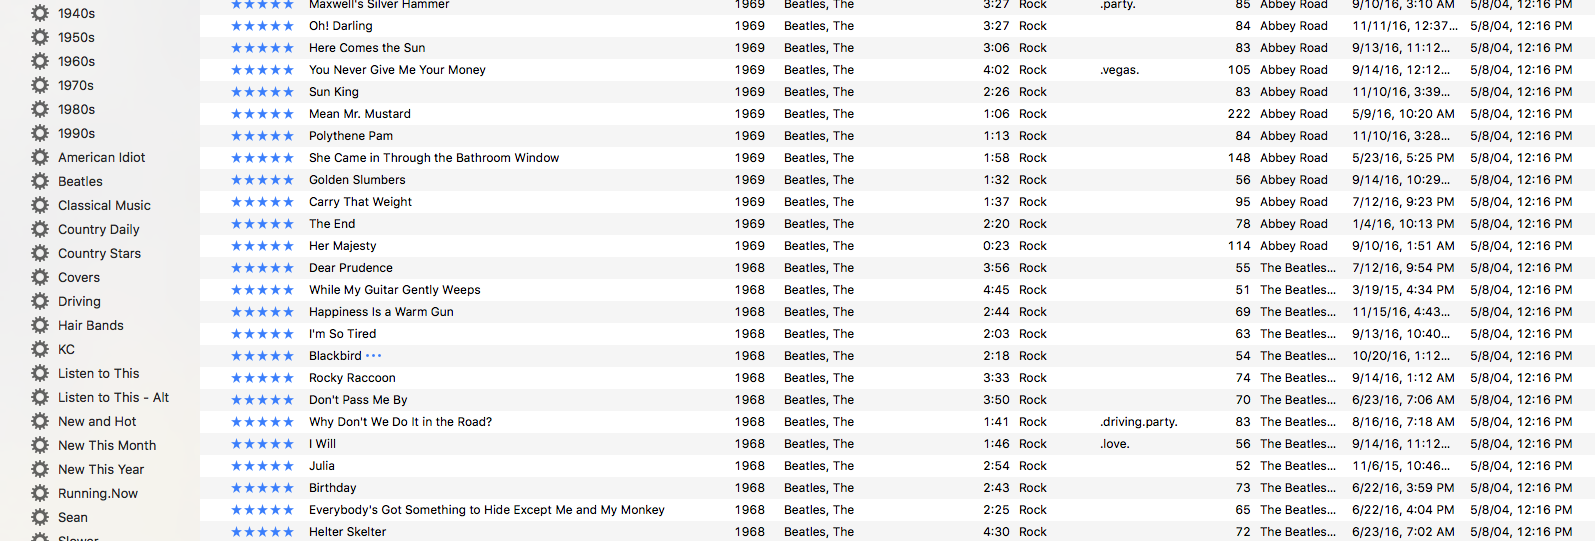
I have heard countless tales of woe from hither and yon regarding lost songs and playlists after “upgrading” to the latest version of iTunes and / or activating the awful Apple Music service. I’ve read people crying on Facebook and complaining on Twitter and have received my fair share of frantic emails from family members losing their minds over missing music. I have not suffered the consequences of this latest Apple debacle because (a) I have no desire to stream music ever and (2) I am fanatical about making sure my music library is backed up to an external Apple Time Machine and a separate external hard drive.
If you aren’t as cautious as yours truly, there is a very good chance that you may indeed be screwed. But! But there is also a very good chance that you are not screwed.
 There is a helpful Apple Support thread perfectly titled If you don’t see your content after you update iTunes that you should read which may save you. The trick is to restore a previous version of the .itl iTunes Library database file which should have been automatically archived just before you clicked without really knowing what you were doing.
The support thread explains what file to find and move and how to replace it. The one detail missing from the explanation, though, is how to determine which of the previous iTunes Library database files is the correct one. The author of the thread merely says, in step five, “Find the file named iTunes Library YYYY-MM-DD where YYYY-MM-DD is the date you updated iTunes (Year-Month-Day).”
By the time you realize you have a problem, you may have generated more copies of this file or you simply don’t remember. To determine when you made the calamitous error of activating the Apple Music service, you need to open iTunes and view your purchase history. Click the down arrow which appears in the top menu bar, just to the right of your name and just to the left of the worthless Search box. Select “Account Info” and then enter your password. Wait until the screen loads and then click “See All” under “Purchase History”. Somewhere in your list of “Previous Purchases” you will see a line item for $0.00 tagged as something like “Apple Music Free Trial”.
The date associated with that event is the one you need to use to determine which .itl file you need to get your music back. Find the one with the date as close to that as you can, just make sure it’s prior to the date of the event. Follow the rest of the steps in the support thread and — with luck — when you restart iTunes you should be fine.
Just make sure to answer NO when it asks you if you want to use Apple Music this time!
