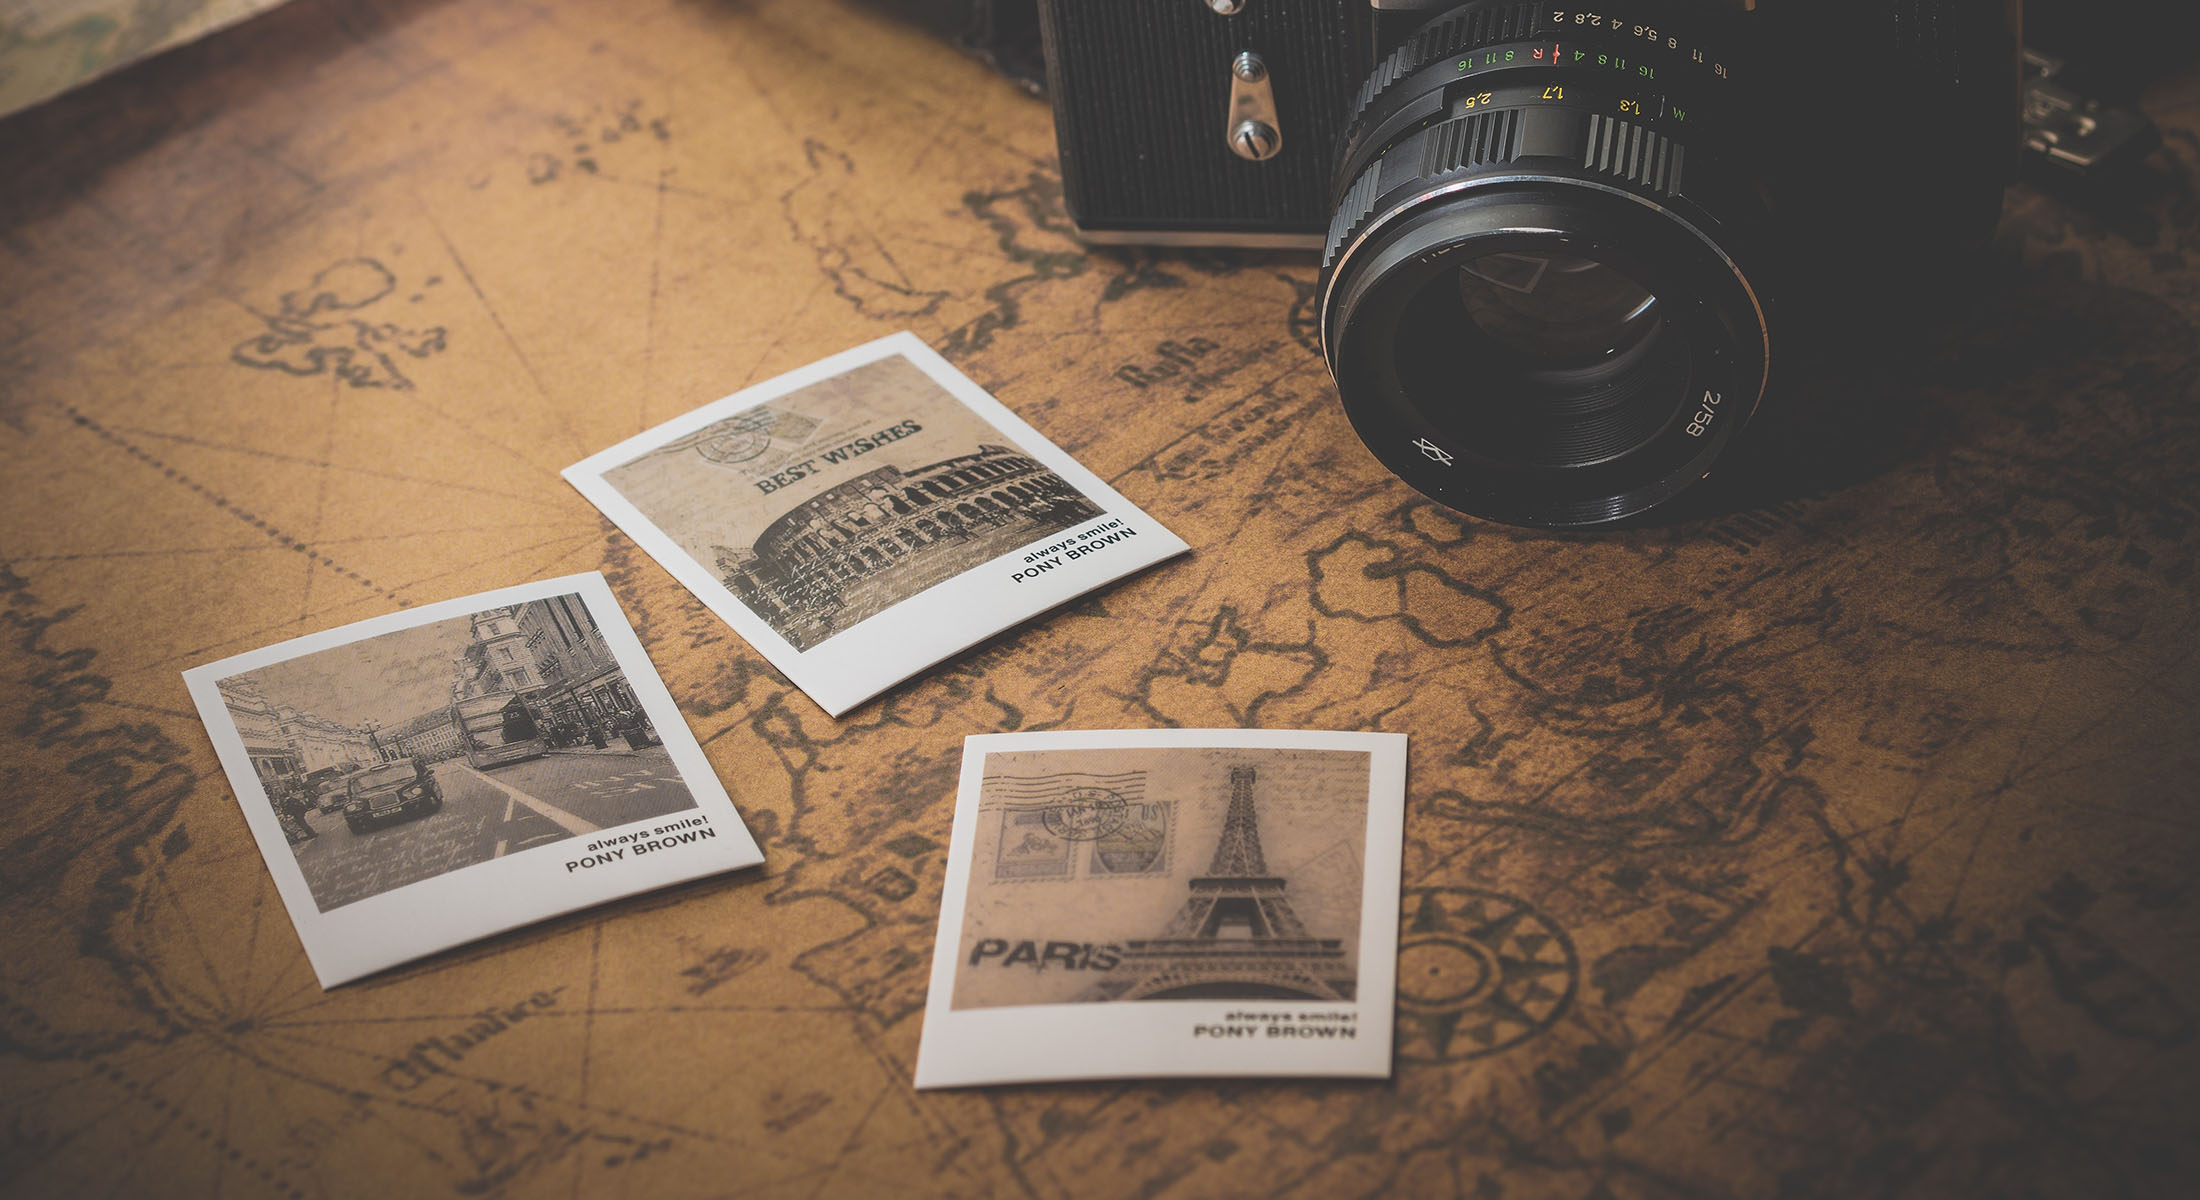
 A few weeks ago I saw an image on Chris Pearson’s Pearsonified that I just loved. He had taken a photo of something — I can’t remember what it was — and made it look like an old-fashioned Polaroid. “What a great idea!” I thought. Surely I can figure out how to do that in Photoshop. And I did. So now I’ll share.
How to Create a Polaroid Using Photoshop in 10 Simple Steps
 Size It
Start by making your image an acceptable size. I’m making this one 200 pixels high by 150 pixels wide. (Photoshop Menu Item: Image » Image Size…)
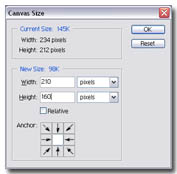
 Add Polaroid Padding
 Add Polaroid Padding
First make sure you have the background color swatch set to white [#ffffff]. (You can double-click the little swatch to change the colors.) Then increase the canvas size of your image. I’m going to add 10 pixels to the current height and width. Make sure to leave the current canvas centered. If you don’t click the Anchor section it should be centered. You want the anchor to be in the middle, like so. (Image » Canvas Size…)
 Add Polaroid Extra Bottom Padding
Now add the bottom “Polaroid” padding by increasing the canvas size again, but only increasing the height by another 20 pixels. This time set the anchor point to be the top center square; that will make the canvas extend at the bottom.
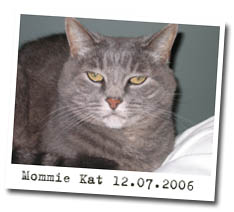
 Add A Caption
Add some text to the space you just added. You can find all kinds of cool free fonts that will make it look like you used a Sharpie to write on your Polaroid, but Verdana or Tahoma work just fine.
 Flatten It
Flatten your image. (Layer » Flatten Image)
 Create a New Image
Create a new image. (File » New…) Make sure your new image is at least 100 pixels wider and higher than the image you want to use. So, for example, I’m making mine 300 by 250. You don’t have to make it this big, but it makes it easier to rotate.
 Copy Your Photo to the New Image
Drag your (flattened!) photo into your new image. (Once it’s there you can close your original photo. You don’t need to save it unless you want to keep your changes. I usually don’t.)
 Add A Drop Shadow
Add the drop shadow effect. (Layer » Layer Style » Drop Shadow…) I like “Blend Mode: Multiply” and Distance, Spread, and Size equal to 5, 0, and 5. This is key to making it look like it’s an actual “thing” and not a graphic.
 Rotate for Reality
Time to rotate it a bit. (Edit » Transform » Rotate) 3.5° is plenty to get the “reality” effect you want. Click the checkbox in the transformation menu to apply the transformation.
 Crop to Size
Crop out the additional white space from the edges by using the rectangular marquee tool and then clicking Image » Crop.
Save as a jpg and you’re done!
[…] Read More… […]
Why not just write a custom action to do all that?
Of course, you have not really emulated a Polaroid, but merely copied its border. A real Polaroid has a unique color palette.
Or you can download BlogDesk, and the next time you want to post a blog entry with a ‘Polaroid’ image, choose ‘Insert Image’ and then click ‘Instant Image’.
Vint Cerf ala Polaroid.
Oh yeah, just make sure you choose ‘Instant Image” from the ‘Shadows and Borders” menu before you rotate it. ; )
i agree with emre – it only simulates the borders of a polaroid, and even those have a unique pattern that’s really hard to copy with a computer…
i study media design and have a lot of… well I like to call them mac junkies. don’t get me wrong, I love my mac, but they think they can emulate anything with their computers… which doesn’t work and so look their final pieces – flat, artificial… unfortunately they treat us few in the course who like to experiment with materials and get their fingers dirty with utter arrogance – well, we’ll see who gets a job first.
I would just get a pack of Polaroids – the unexpected effects you get are very pretty and really unique. sure it’s not cheap but so isn’t printer ink and high-gloss photo paper. I just hope polaroid is not gonna be the next victim of the digital age. For my part – I’ll stick to the real deal.
David,
Despite what the others are saying this is still really cool… I’ve used it to good effect. Thanks
Dave
[…] Photoshop Polaroid Images how to make images look like polaroid shots […]
Great info thanks. Here is drop shadow generator: http://www.dropshadowz.net
Good stuff! Also, for anyone looking to use Photoshop to turn photos into polaroids (polaroid frame around photo), check out this quick Photoshop Action: Polaroid Photoshop Action